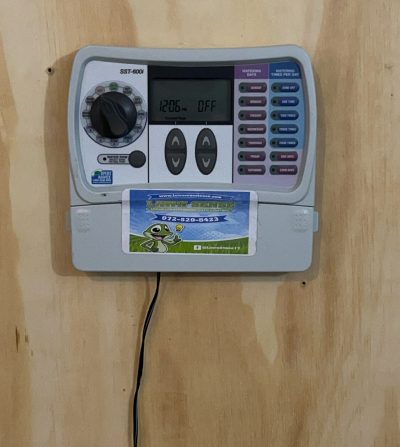
How To Program SSTi Controller
How to program your RainBird SSTi series sprinkler system timer the easy way.
In this step by step guide we’ll walk you through setting up your RainBird SSTi Series controller. We’ll go through everything you need to know to get your sprinklers running automatically. One thing to remember, after you make a change to a setting it automatically saves.
This is a unique controller, the setup process is unlike any other. But we always start the same.
Date & Time: Always the first step in getting any sprinkler controller set up. This ensures your programs run at the correct time and right day of the week.
- Flip over to “Set Clock”
- Use the up and down arrows on the left to adjust your time.
- Flip to “Set Date”
- Use the left arrows to adjust the year.
- Use the right arrows to adjust the month and day.
Setting up the zones: Here you sell set up the start time, days of the week it waters, and how many times it waters all at once. You’ll do this for each zone.

Important Note: Keep track of each zones start time and run time because the next zone cannot overlap. For example, if zone 1 starts at 12AM and runs for 15 minutes. Zone 2 cannot start until after 12:15AM.
- Flip to Zone 1
- Use the left arrows to set your start time.
- Use the right arrows to set your run time. This will be how long that zone waters for.
- Once that is set, we’ll move onto the watering days to the right side of the panel.
- Click each day of the week you’d like to water. It also has an ODD and EVEN days function.
- Finally, we’ll decide how many times per day we want that zone to water, or you can click zone OFF.
- Repeat this process for each zone you have, and don’t let your run times over lap.
- Flip the knob to “Auto”
That’s it! Your RainBird SSTi is fully programmed and will run automatically now. Sit back and relax.