Did you know that a single stuck sprinkler head can leave over 100 square feet of your lawn dry and patchy? Keeping your irrigation system in good shape is key to avoiding costly repairs and protecting your landscape’s health. From clogged nozzles to hidden underground leaks, understanding these common sprinkler problems helps you maintain a lush, green yard while saving water and money.
Quick Summary
| Takeaway | Explanation |
|---|---|
| 1. Identify stuck sprinkler heads promptly | Inspect your lawn during watering to find heads not popping up, indicating blockages or damage. |
| 2. Adjust for even water coverage | Use a catch cup test to measure water distribution and identify misaligned or clogged heads. |
| 3. Detect and fix leaks early | Look for wet spots and monitor water bills; small leaks can escalate into major issues quickly. |
| 4. Maintain adequate water pressure | Regularly check for clogs and assess the water supply to prevent low pressure affecting your system. |
| 5. Winterize your sprinkler system | Protect against freeze damage by draining the system and insulating exposed parts before winter. |
Table of Contents
- Identifying Sprinkler Heads That Won’t Pop Up
- Solving Uneven Water Coverage Issues
- Fixing Leaky Sprinkler Valves And Pipes
- Dealing With Low Water Pressure In Sprinklers
- Addressing Sprinkler Zones Not Turning On
- Preventing Clogged Nozzles And Sprinkler Heads
- Protecting Your System From Freeze Damage
1. Identifying Sprinkler Heads That Won’t Pop Up
Your sprinkler heads are the unsung heroes of lawn maintenance, and when they fail to rise to the occasion quite literally your lawn could be in serious trouble. Stuck sprinkler heads represent one of the most common and frustrating irrigation system problems homeowners encounter in the DFW area.
When sprinkler heads refuse to pop up, they create uneven water distribution that can lead to patchy brown spots and inefficient lawn watering. This happens due to several potential issues: dirt and debris buildup, mechanical damage, or improper installation. Identifying the root cause is crucial for maintaining a healthy lawn.
To diagnose stuck sprinkler heads, start with a visual inspection. Walk your lawn during a watering cycle and observe which heads remain underground when they should be spraying. Gently clear away grass, mulch, or soil around the head to see if it can move freely. Some heads might be physically blocked by overgrown grass or soil compaction.
Key signs of problematic sprinkler heads include:
• No water spray during system activation
• Visible physical damage to the sprinkler head
• Heads that are stuck or tilted at unusual angles
• Uneven grass coloration around specific lawn areas
Quick troubleshooting often involves cleaning the sprinkler head, removing any dirt or small rocks preventing movement. In more severe cases, read more about sprinkler system problems that might require professional intervention.
Professional tip: Never force a stuck sprinkler head by pulling or using excessive force. This can cause additional damage to the delicate mechanism. If cleaning and gentle manipulation do not resolve the issue, consult a sprinkler repair specialist who can diagnose and fix the underlying problem efficiently.
2. Solving Uneven Water Coverage Issues
A perfectly manicured lawn requires more than just regular watering water distribution matters as much as the water itself. Uneven water coverage can transform your beautiful green landscape into a patchwork of dry brown spots and oversaturated areas.
Uneven water distribution typically stems from misaligned sprinkler heads, incorrect water pressure, or improper head spacing. These issues create what professionals call “irrigation inefficiency” where some lawn areas receive too much water while others remain parched. This not only wastes water but also damages your lawn’s overall health and appearance.
Common causes of uneven water coverage include:
• Sprinkler heads pointing in wrong directions
• Blocked or damaged sprinkler heads
• Inconsistent water pressure across different zones
• Terrain variations that interrupt water flow
To diagnose coverage problems, perform a simple catch cup test. Place multiple empty containers across your lawn during a watering cycle. Measure the water collected in each container after a standard watering session. Significant variations between containers indicate uneven distribution.
Quick solutions involve adjusting sprinkler head angles, clearing obstructions, and ensuring proper head alignment. Learn more about specific sprinkler repairs that can help resolve these challenges.
Professional landscapers recommend checking your sprinkler system at least twice a year to maintain optimal water distribution. Routine maintenance can prevent costly water waste and protect your lawn from potential dry or oversaturated zones. Remember small adjustments can make a significant difference in your lawn’s overall health and appearance.
3. Fixing Leaky Sprinkler Valves and Pipes
A hidden leak in your sprinkler system can transform your water bill into a financial nightmare and transform your lawn into a waterlogged mess. Underground leaks are silent problems that can waste thousands of gallons of water and cause significant damage to your property if left unchecked.
Leaky sprinkler valves and pipes typically occur due to several factors: age related deterioration, ground movement, freezing and thawing cycles, or improper initial installation. These leaks might not always be visible on the surface which makes them particularly tricky for homeowners to detect and diagnose.
Warning signs of potential sprinkler system leaks include:
• Unexplained wet spots in your yard
• Significant increases in water bills
• Mushy or overly saturated ground areas
• Reduced water pressure during sprinkler operation
• Unusual grass growth patterns
Practical detection methods:
• Perform a visual inspection of your irrigation system
• Check water meter readings during non watering periods
• Look for unexpected puddles or marshy areas
• Listen for unusual sounds of running water
Learn how to detect leaks in your sprinkler system with professional techniques that can save you money and prevent extensive lawn damage.
Quick fixes might involve tightening connections or replacing worn seals. However complex leaks often require professional assessment. Professional irrigation specialists can use specialized equipment like electronic leak detectors to pinpoint exact locations of underground pipe damage without extensive excavation.
Remember that addressing leaks promptly can save you significant money on water bills and prevent potential landscape destruction. Most sprinkler leaks start small but can quickly escalate into costly repairs if ignored.
4. Dealing With Low Water Pressure in Sprinklers
Weak water spray from your sprinklers is more than just an aesthetic problem it can signal serious underlying irrigation system issues. Low water pressure can transform your lawn care efforts from precision watering to ineffective sprinkling.
Low water pressure occurs due to multiple potential reasons ranging from simple blockages to complex plumbing complications. Your sprinkler system operates like a network where any disruption can significantly impact overall performance. Understand your sprinkler system parts to better diagnose these challenges.
Common causes of low water pressure include:
• Clogged sprinkler heads
• Damaged water supply lines
• Malfunctioning valves
• Incorrect pipe sizing
• Municipal water supply changes
Quick diagnostic steps for homeowners:
• Check if low pressure affects entire system or specific zones
• Inspect sprinkler heads for visible debris or damage
• Verify main water valve is fully open
• Listen for unusual sounds in pipes
• Measure water flow using a pressure gauge
Some low pressure issues can be resolved through simple cleaning or valve adjustments. Mineral buildup particularly common in DFW area water can restrict water flow in sprinkler components. Sediment accumulation inside pipes or heads can gradually reduce water pressure over time.
Professional intervention becomes necessary when DIY troubleshooting fails. Expert technicians can perform comprehensive pressure tests identifying subtle issues that might escape untrained detection. Remember addressing low water pressure promptly prevents potential long term damage to your irrigation system and maintains your lawn’s health.
5. Addressing Sprinkler Zones Not Turning On
A sprinkler system with dead zones is like a symphony where entire sections of musicians refuse to play. Inactive irrigation zones can leave significant portions of your lawn parched and struggling while other areas receive adequate water.
Zone activation problems stem from various potential electrical and mechanical issues within your irrigation system. The complexity of these systems means that multiple components could be preventing proper zone operation. Understand how sprinkler heads are configured per zone to better diagnose potential problems.
Potential reasons for zone activation failures include:
• Faulty electrical controller
• Damaged solenoid valves
• Broken underground wiring
• Corroded electrical connections
• Malfunctioning zone control modules
Diagnostic steps for homeowners:
• Check controller display for error messages
• Verify electrical connections are secure
• Listen for clicking sounds from valves during activation
• Test voltage at valve terminals
• Inspect visible wiring for damage
Some zone issues can be resolved through simple troubleshooting like resetting the controller or cleaning valve connections. However electrical problems in irrigation systems often require specialized knowledge. Homeowners should exercise caution and recognize when professional intervention becomes necessary.
Professional irrigation technicians use advanced diagnostic tools to pinpoint exact zone activation problems. They can quickly identify whether the issue lies in the controller hardware electrical wiring or mechanical valve components. Prompt diagnosis prevents widespread lawn damage and ensures your irrigation system operates at peak efficiency.
6. Preventing Clogged Nozzles and Sprinkler Heads
A tiny speck of dirt can transform your precision irrigation system into a malfunctioning water sprayer. Clogged sprinkler nozzles represent one of the most common yet overlooked maintenance issues that can compromise your entire lawn watering strategy.
Clogging occurs through multiple mechanisms dirt accumulation mineral buildup from hard water grass and debris infiltration and even small insect nests. These blockages restrict water flow creating uneven spray patterns that leave some lawn areas parched while overwatering others. Learn about sprinkler head repair strategies to understand when cleaning versus replacing becomes necessary.
Primary sources of sprinkler head clogging include:
• Soil and dirt accumulation
• Mineral deposits from hard water
• Grass and vegetation growth
• Small debris like sand or organic matter
• Rust and sediment from aging pipes
Effective prevention and cleaning techniques:
• Conduct quarterly visual inspections
• Use compressed air to clear minor blockages
• Gently clean nozzles with soft brush
• Replace damaged or severely corroded heads
• Install filter systems on main water line
Regular maintenance prevents most clogging issues. Professional irrigation specialists recommend annual professional cleaning especially in regions with high mineral content in water like the DFW metroplex. Simple practices like keeping grass trimmed around sprinkler heads and ensuring proper installation can dramatically reduce the likelihood of persistent clogging.
Remember that preventing clogs is far more cost effective than repairing widespread irrigation system damage. A few minutes of preventative care can save hundreds of dollars in potential repairs and protect your lawn’s health.
7. Protecting Your System From Freeze Damage
Texas winters might seem mild but sudden temperature drops can wreak havoc on your sprinkler system faster than you might imagine. Freeze damage represents one of the most expensive and preventable irrigation system catastrophes for DFW homeowners.
When water inside pipes and components freezes it expands creating immense internal pressure that can crack pipes valves and critical system components. The DFW region experiences unpredictable winter temperatures making proactive protection essential. Learn how to protect your backflow preventer from potential winter damage.
Critical areas vulnerable to freeze damage include:
• Underground water pipes
• Backflow preventers
• Sprinkler valves
• Exposed irrigation components
• Connecting pipe joints
Effective winter protection strategies:
• Drain entire irrigation system completely
• Insulate above ground components
• Install freeze protection valves
• Use foam covers for backflow preventers
• Shut off main water supply to irrigation system
Professional winterization involves more than simple DIY methods. Experts use specialized techniques to completely purge water from complex irrigation networks ensuring no moisture remains to cause potential damage. Compressed air is often used to forcefully remove water from pipes preventing any potential freezing.
Remember that spending a few dollars on preventative maintenance can save you hundreds or even thousands in potential system replacement costs. One brutal freeze can turn your reliable irrigation system into an expensive repair project.
Below is a comprehensive table summarizing the key strategies for maintaining and troubleshooting sprinkler systems discussed throughout the article.
| Topic | Key Points & Actions | Benefits/Outcomes |
|---|---|---|
| Stuck Sprinkler Heads | Perform visual inspection, clear debris, gently clean. Avoid forcing stuck heads. | Ensures even water distribution, prevents lawn damage. |
| Uneven Water Coverage | Adjust head angles, clear blockages, conduct catch cup test. | Promotes efficient watering, saves water, and enhances lawn health. |
| Leaky Sprinkler Valves | Check for unexplained wet spots, tighten connections, replace worn seals. | Reduces water waste, prevents property damage. |
| Low Water Pressure | Inspect for clogs, ensure valves are open, conduct flow tests. | Maintains system efficiency and lawn health. |
| Inactive Sprinkler Zones | Verify controller and electrical connections, inspect wiring. | Ensures comprehensive lawn coverage. |
| Clogged Nozzles | Regular cleaning, install filters, conduct inspections. | Prevents uneven watering, extends system lifespan. |
| Freeze Damage Prevention | Drain system, insulate components, use freeze valves. | Avoids costly repairs, maintains system integrity. |
Ready to Fix Your Sprinkler Problems for Good?
If you are tired of dealing with brown spots, stuck heads, leaky pipes, or uneven watering, you are not alone. This article covered the exact frustrations many DFW homeowners face—water waste, sky-high bills, and an unhealthy lawn—all caused by common sprinkler issues like clogged nozzles or inactive zones. You deserve a yard that thrives with a sprinkler system you can depend on. For more tips and real homeowner stories, check out our Case Studies to see how we solve these exact problems every week.

Transform your irrigation troubles into a worry-free experience. The experts at Lawn Sense handle everything from sprinkler repairs to complete lawn care across the DFW metroplex. Restore your peace of mind and get results that last by visiting https://lawnsensetexas.com or explore our Guides for more solutions. Do not wait until your lawn pays the price—contact us for a healthier, greener yard now.
Frequently Asked Questions
What should I do if my sprinkler heads won’t pop up?
To address stuck sprinkler heads, start by visually inspecting them during a watering cycle. Clear any grass or debris that may be obstructing their movement, and if the problem persists, consult a sprinkler repair specialist for a thorough assessment.
How can I solve uneven water coverage in my lawn?
Conduct a catch cup test by placing multiple containers across your lawn while the system is running. Measure the water collected in each after watering to identify discrepancies, then adjust sprinkler angles or clear blockages to improve distribution.
What are the signs of a leak in my sprinkler system?
Common signs of sprinkler leaks include wet spots in your yard, increased water bills, and mushy ground areas. Regularly inspect your irrigation system and monitor water meter readings during non-watering periods to identify hidden leaks early.
How do I fix low water pressure in my sprinkler system?
Begin by checking if low pressure affects the entire system or just specific zones. Inspect sprinkler heads for clogs, verify that the main water valve is fully open, and consider cleaning any debris to boost water flow. Performing these checks may help resolve pressure issues quickly.
What could cause certain sprinkler zones not to turn on?
Inactivated zones are often due to faulty electrical controllers, damaged solenoid valves, or corroded wiring. Check for error messages on the controller and listen for clicking sounds during activation to determine the problem area.
How can I prevent clogged sprinkler heads and nozzles?
Regularly inspect your sprinkler system for dirt and debris buildup, cleaning nozzles as needed with a soft brush. Implement quarterly maintenance practices to prevent clogs and ensure consistent water flow for an evenly maintained lawn.
Recommended
- 7 Common Sprinkler Repairs Every Homeowner Should Know
- 9 Sprinkler System Problems You Shouldn’t Ignore
- Troubleshoot Your Sprinkler Head | Lawn Sense
- 6 Steps to Detect Leak in Sprinkler System | Lawn Sense
- 7 Common Types of Roof Repairs Every Homeowner Should Know – Liberty Roofworks
- Understanding Drainage Problems Explained For Homeowners – Legacy Plumbing & Drain – Emergency Plumbers Of Sacramento
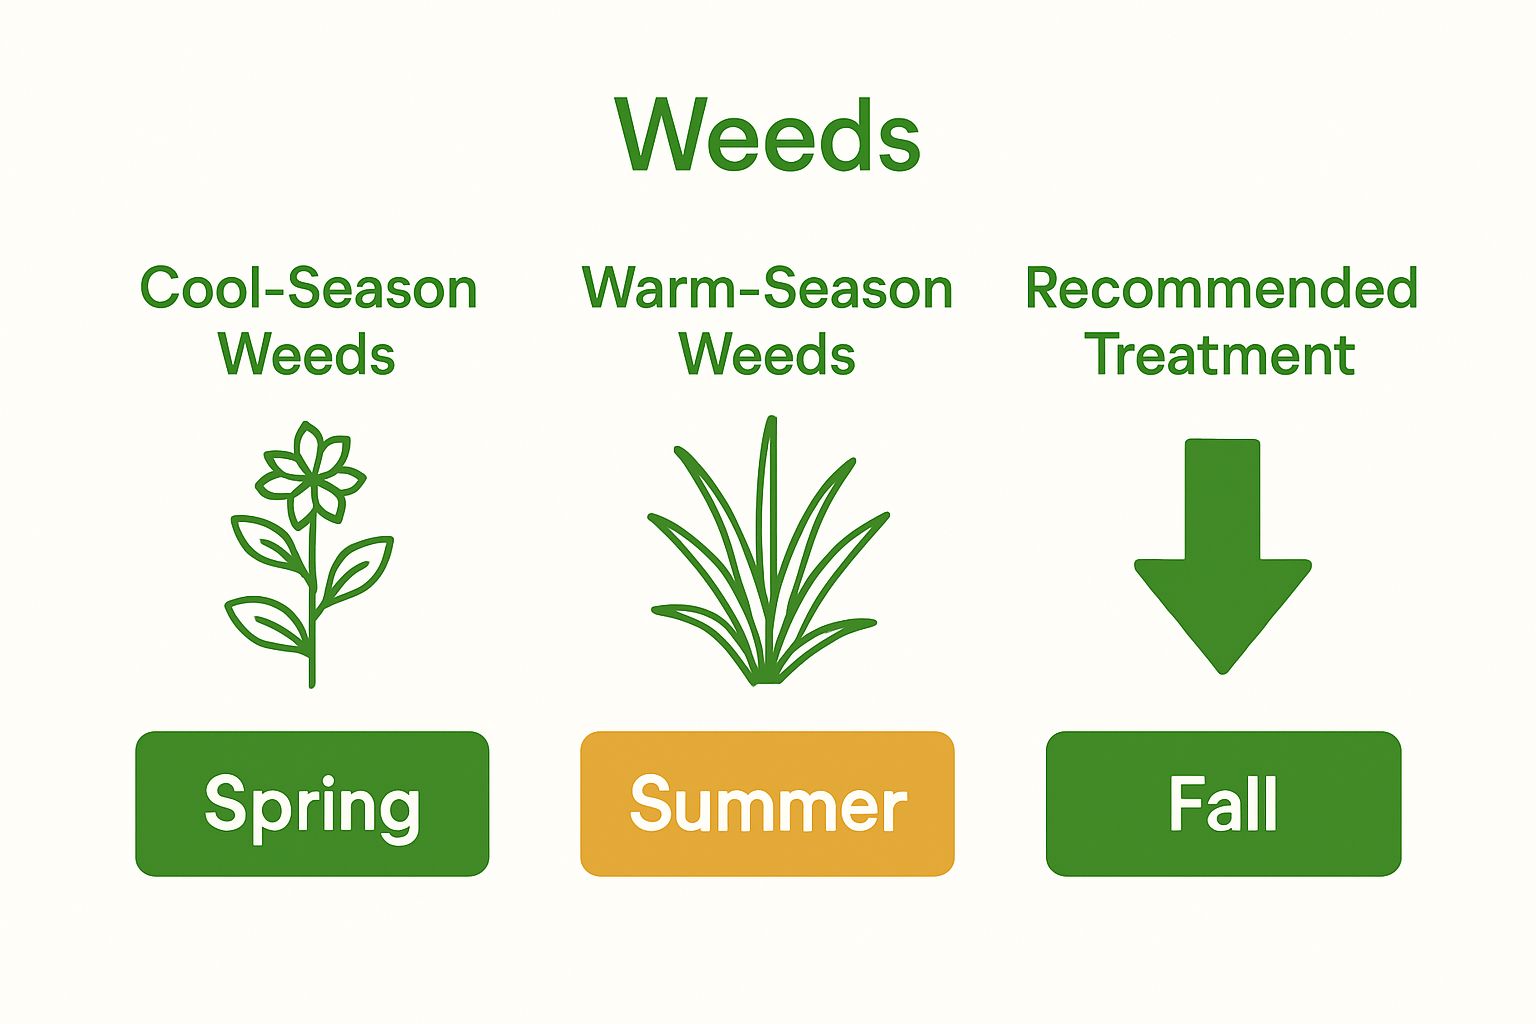
 By recognizing these common lawn invaders early, DFW homeowners can protect their landscapes and maintain healthy, vibrant turf that resists weed proliferation.

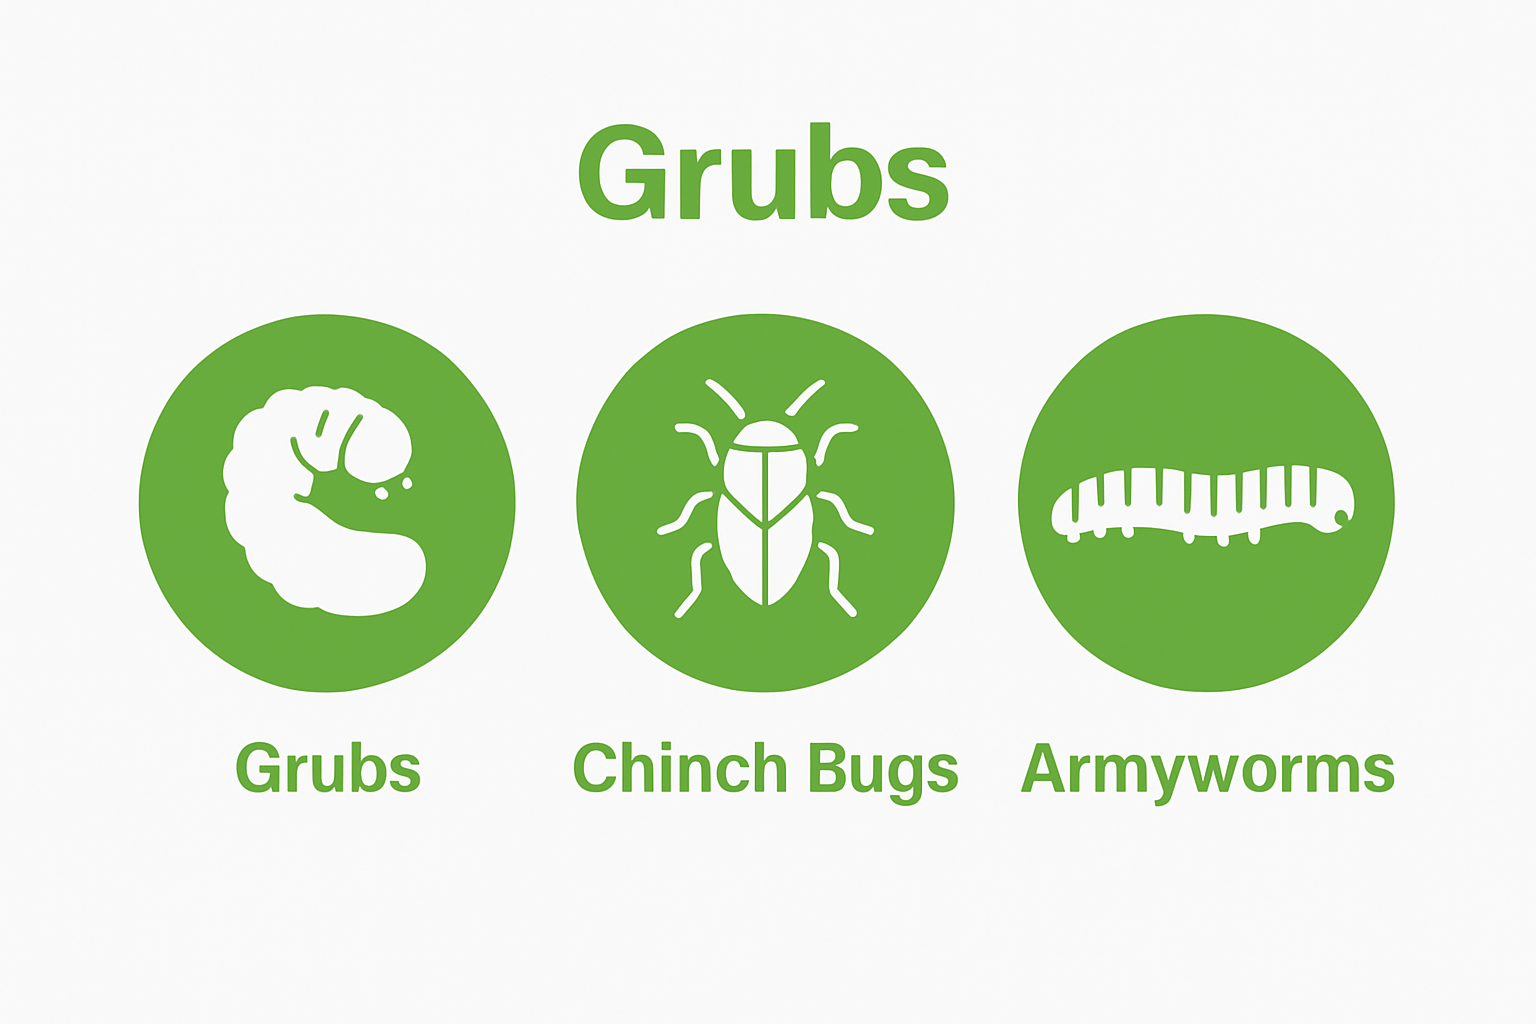
 The goal shifts from complete eradication to balanced ecosystem management, where pest populations remain at sustainable levels without compromising overall landscape health.